
Backyard Private Tennis Court LED Lighting Installation Guide AU

Understanding the Need for LED Lighting
When you think about your backyard tennis court, the first thing that comes to mind might be the net, the racquets, or maybe even those funky tennis shoes. But what about the lighting? If you're in Australia, especially with our beautiful evenings, installing LED lights can turn your court into a night-time haven. Plus, it gives you more time to practice those tricky serves without worrying about getting home before dark!
Benefits of LED Lighting
- Energy Efficient: LEDs consume less power than traditional bulbs.
- Longevity: They last longer, meaning fewer replacements and lower maintenance costs.
- Bright and Clear: Excellent illumination helps players see better during matches.
Planning Your Installation
Before diving in, there's a bit of planning to do, folks! First off, think about how many lights you’ll need. Typically, for a regulation-sized court, four to six fixtures should suffice. You want every corner lit up bright enough to avoid any "was that a ball or just my imagination?" moments.
Choosing the Right Fixtures
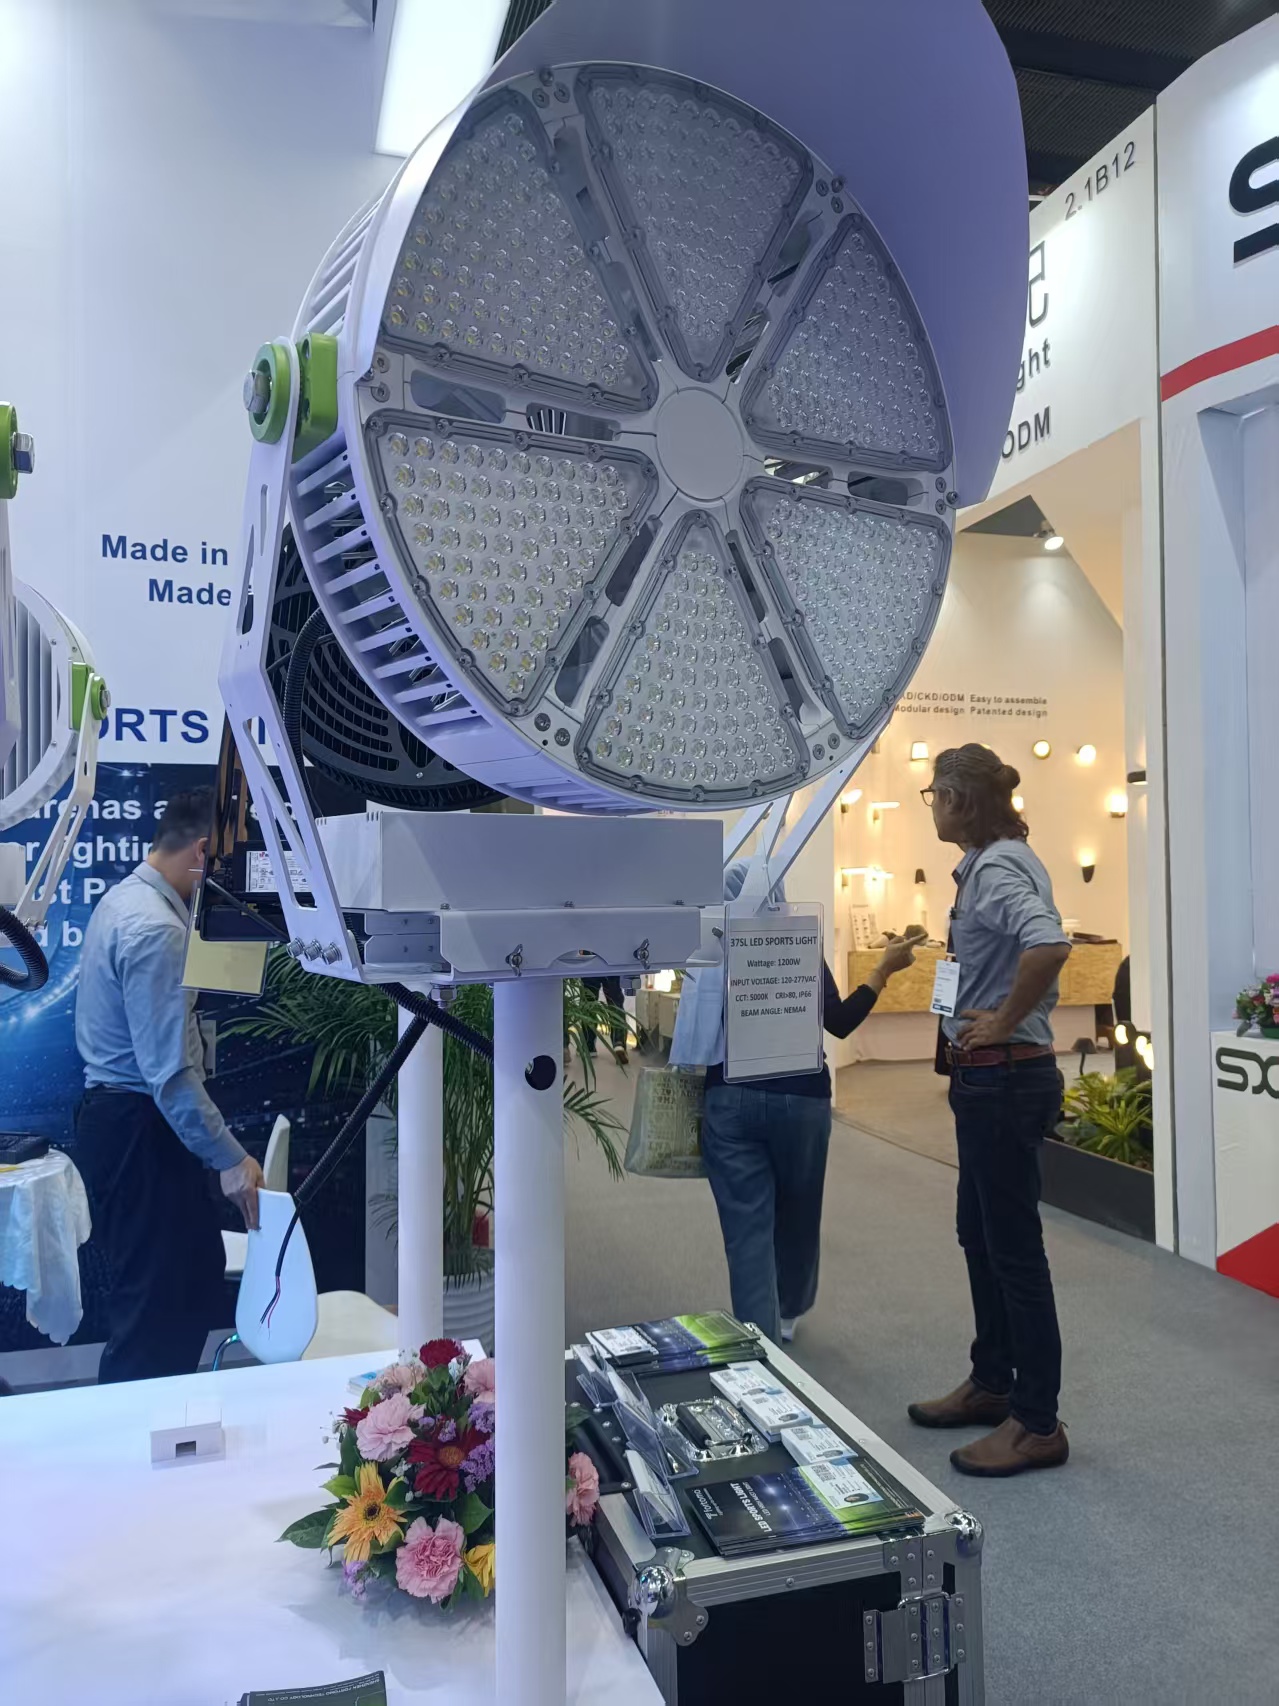
Now, here’s where it gets interesting. Not all lights are created equal. Look for high-lumen output fixtures specifically designed for outdoor sports. Brands like Fortomo offer options that are durable and weather-resistant, making them perfect for Australian conditions. Trust me; you don’t want lights that fade faster than your enthusiasm after losing a match!
Installation Steps
Alright, so you've got your lights picked out. Now, let’s get to the juicy part—installing those bad boys!
Step 1: Mark Your Locations
Using a tape measure, mark where each light will be installed. Ideally, you'll want them positioned at least 16-20 feet high to maximize coverage while minimizing shadows on the court. It might feel like you’re marking out a treasure map, but trust me, this step is crucial.
Step 2: Set Up the Poles
You’ll need sturdy poles to mount your lights. Concrete footings work best if you're looking for something permanent. Make sure they’re secure; you wouldn’t want a light pole collapsing mid-match—talk about an unexpected twist!
Step 3: Wiring It Up
This part can be a little tricky, so don't hesitate to grab a buddy who's handy with electrical stuff! Ensure you follow local regulations, as safety is key. And remember, always switch off the power supply when working with electricity. No one needs surprise shocks, right?
Step 4: Mount the Lights
Once your poles are set and wired, it’s time to mount those lights. Secure them tightly, and follow the manufacturer’s instructions. Double-check everything—nothing worse than flicking the switch only to find half the lights out!
Testing and Adjustments
After installation, give everything a test run. Turn on the lights and walk around your court, checking for any dark spots. If you notice areas that need more light, consider adding an extra fixture or adjusting the positioning. Nobody wants to play hide-and-seek with a tennis ball, right?
Maintaining Your LEDs
Finally, let’s talk maintenance because, let's face it, no one wants to deal with burnt-out lights at the worst possible moment. Regularly check for dirt and debris, which can dim the brightness. A little cleaning goes a long way—think of it as giving your lights a spa day!
Conclusion
Installing LED lighting for your backyard tennis court doesn't have to be daunting, and with the right approach, it can enhance not only your game but also your entire experience. Enjoy those evening matches under the stars without breaking a sweat over poor visibility. Whether you're playing solo or hosting friends, great lighting makes all the difference. So go ahead, elevate your game with some fabulous lights!